
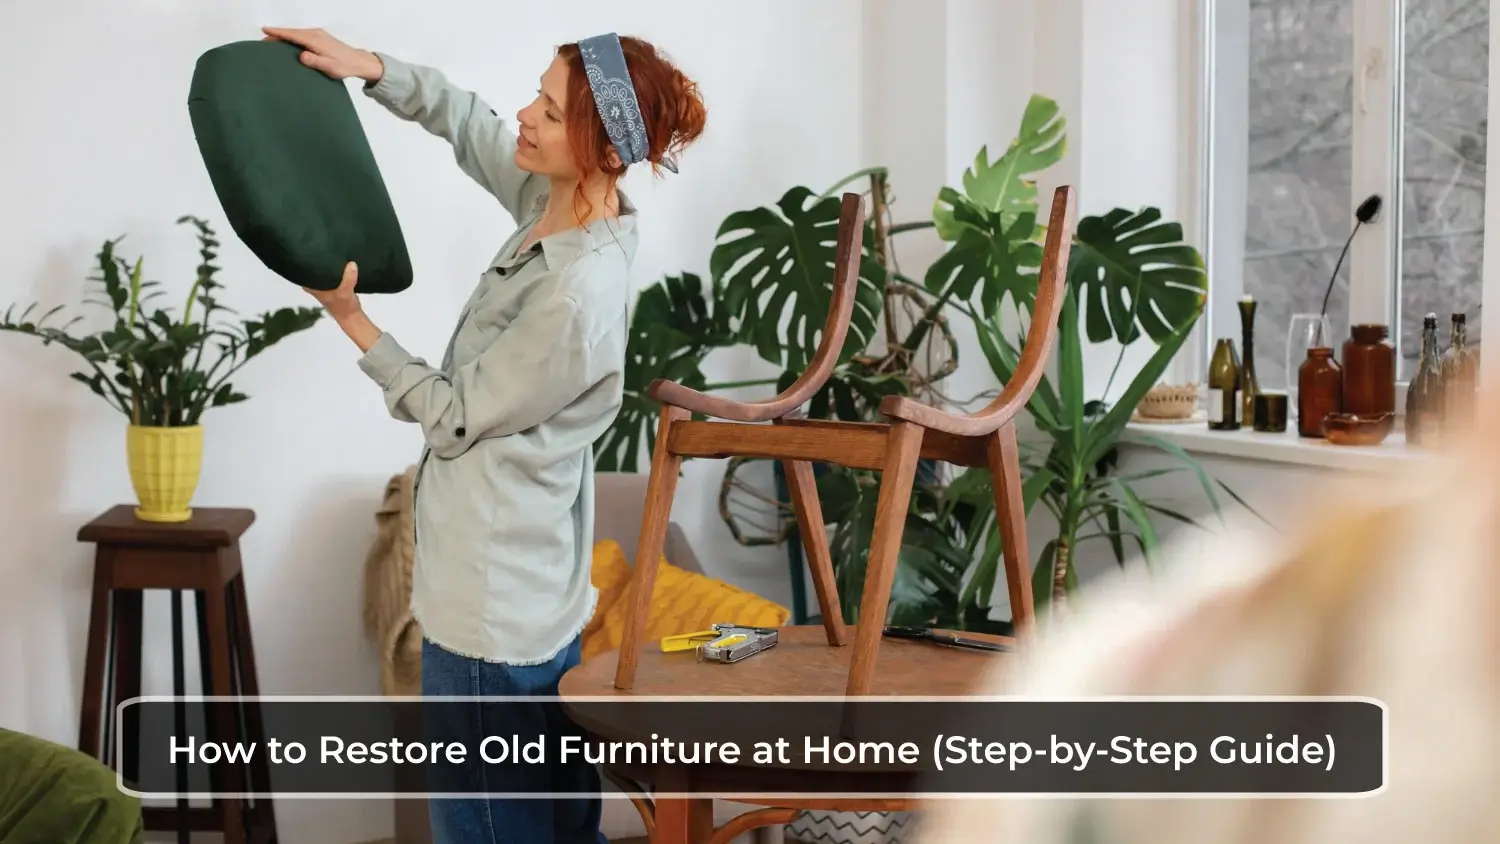
Restoring old furniture at home is more than a weekend project-it’s a creative journey that blends sustainability, craftsmanship, and personal style. In an era where DIY home improvement continues to evolve, furniture restoration has become a favorite way to breathe new life into forgotten pieces while reducing waste and saving money.
Whether you’ve found a dusty wooden chair in storage, inherited a vintage cabinet, or picked up a thrift-store gem, this step-by-step guide will walk you through the entire restoration process. With patience, the right tools, and a bit of creativity, you can transform worn-out furniture into a stunning centerpiece for your home.
Furniture Restoration
Furniture restoration is the process of repairing, refinishing, and revitalizing old or damaged furniture to restore its beauty and functionality. Unlike buying new items, restoration allows you to preserve character, history, and craftsmanship while customizing the final look to suit your home.
As DIY home projects continue to evolve, more homeowners are choosing restoration not only for cost savings but also for its environmental and emotional value.
Why Restoring Old Furniture Is Worth It
Restoring furniture offers several long-term benefits:
- Cost-effective: Restoring is often cheaper than buying high-quality new furniture.
- Eco-friendly: It reduces landfill waste and promotes sustainable living.
- Customization: You control the color, finish, and design.
- Emotional value: Restored pieces often carry sentimental or vintage charm.
- Skill-building: You gain hands-on DIY skills that improve over time.
This growing interest in sustainable DIY living is frequently highlighted by home decor platforms like ECO Decor Nest, which encourage creative reuse over disposable consumption.
Tools and Materials You’ll Need
Before starting, gather these essentials:
Basic Tools
- Screwdrivers
- Hammer
- Pliers
- Putty knife
- Paint brushes or rollers
Materials
- Mild soap or wood cleaner
- Sandpaper (coarse, medium, fine grit)
- Wood filler or epoxy
- Paint stripper or heat gun
- Primer (optional)
- Paint, stain, or polish
- Protective sealant (varnish or wax)
Safety Gear
- Gloves
- Face mask
- Safety goggles
Step-by-Step Guide to Restoring Old Furniture
Step 1: Inspect and Assess the Furniture
Start by carefully examining the piece. Look for:
- Loose joints
- Cracks or holes
- Water damage
- Insect infestation
- Peeling paint or finish
Decide whether the furniture is structurally sound enough to restore. Minor damage is usually easy to fix, but severe structural issues may require advanced tools or professional help.
Step 2: Clean the Surface Thoroughly
Years of dust, grime, and oil can hide the true condition of furniture.
How to clean properly:
- Mix mild soap with warm water.
- Wipe the surface using a soft cloth.
- Use a toothbrush for crevices.
- Let it dry completely before moving forward.
This step ensures better adhesion for sanding and finishing.
Step 3: Repair Structural Damage
Before working on appearance, fix all functional issues.
Common repairs include:
- Tightening loose screws or joints
- Applying wood glue to weak connections
- Filling cracks or holes with wood filler
- Replacing broken handles or knobs
Allow repairs to dry and cure fully before sanding.
Step 4: Remove Old Finish or Paint
Stripping the old finish allows for a fresh start.
Methods you can use:
- Paint stripper: Apply evenly and scrape once softened.
- Heat gun: Gently heat paint and scrape carefully.
- Manual sanding: Best for thin layers or delicate furniture.
Work in a well-ventilated area and follow safety instructions closely.
Step 5: Sand for a Smooth Base
Sanding is crucial for a professional finish.
Sanding process:
- Start with coarse grit to remove residue.
- Move to medium grit to smooth the surface.
- Finish with fine grit for a polished feel.
Always sand in the direction of the wood grain. Wipe away dust with a clean, dry cloth.
Step 6: Apply Stain, Paint, or Finish
Now comes the creative part-choosing the look.
Options:
- Wood stain: Enhances natural grain
- Paint: Perfect for modern or bold designs
- Polish: Maintains a classic appearance
Apply thin, even coats and allow proper drying time between layers. Multiple thin coats deliver better results than one thick layer.
Step 7: Protect and Seal the Furniture
To ensure durability:
- Apply varnish, polyurethane, or wax
- Let it cure fully before use
- Lightly sand between coats for a smooth finish
Sealing protects your restored furniture from moisture, scratches, and daily wear.
Tips for a Professional-Looking Finish
- Test finishes on a hidden area first
- Use quality brushes to avoid streaks
- Work patiently-rushing leads to mistakes
- Keep the workspace dust-free
- Allow proper drying time at every stage
Small details make a big difference in final results.
Common Mistakes to Avoid
- Skipping surface cleaning
- Over-sanding edges and corners
- Applying thick coats of paint
- Ignoring structural repairs
- Not sealing the final finish
Avoiding these mistakes saves time and ensures longevity.
How DIY Furniture Restoration Is Evolving
DIY furniture restoration has evolved far beyond basic repairs. Today’s trends include:
- Eco-friendly paints and finishes
- Minimalist and Scandinavian styles
- Upcycling furniture with mixed materials
- Smart storage transformations
- Vintage-modern fusion designs
With online tutorials, sustainable materials, and creative inspiration widely available, DIY restoration continues to grow as a modern lifestyle choice.
When to Restore vs. When to Replace
Restore if:
- The structure is solid
- The piece has sentimental or vintage value
- Materials are high quality (solid wood)
Replace if:
- Damage compromises safety
- Repair costs exceed replacement
- Materials are low-quality composites
Making this decision early helps you invest time wisely.
Final Thoughts
Restoring old furniture at home is a rewarding way to blend creativity, sustainability, and practicality. Each restored piece tells a story-one shaped by your hands and vision. As DIY home trends continue to evolve, furniture restoration remains a timeless skill that enhances both your living space and your connection to it.
Whether you’re refreshing a single chair or transforming an entire room, the process itself is just as valuable as the final result.
FAQs
Is furniture restoration suitable for beginners?
Yes, many restoration projects are beginner-friendly, especially simple items like stools, side tables, or chairs.
How long does it take to restore furniture?
Depending on complexity, projects can take anywhere from a few days to a couple of weeks.
Can I restore furniture without sanding?
Light restoration is possible without sanding, but sanding is recommended for best adhesion and finish quality.
What type of furniture is best for restoration?
Solid wood furniture is ideal due to its durability and ability to withstand repeated refinishing.
Is restoring furniture cheaper than buying new?
In most cases, yes-especially when restoring quality pieces instead of purchasing mass-produced furniture.


